On this page
Lists
Lists make it easy to manage your users. From custom fields to mailing segments, you have full control over your data in order to send with success.
Creating / Editing Lists
When creating our editing lists you'll have access to some basic options, including:
- List Name
- List Description
- Contact Email
- Homepage
- Recipients name template
- Send Configuration
- Namespace
- Custom Form Selection
- Public Subscription Toggle
- Unsubscription Method
- Unsubscribe Header Toggle
Let's take a minute to discuss each field
List Name
This is the name of the list that shows up in the app dashboard and all public forms and headers
List Description (optional)
This shows up in the app dashboard and on public forms
Contact Email
This is the email address that should be used if someone one the list needs support
Homepage
This is the url of the website this list is responsible for and will show as a clickable button on some public forms
Recipients Name Template
This is a field that customized the To name header when sending emails to list recipients
Send Configuration
This is the sending config for your account. In most cases you'll have just one, but your account manager my provide you with multiple send configurations depending on your needs.
Namespace
This is the namespace your list will be grouped under. Namespaces help to organize resources, user access and analytics in the Carrier Crow dashboard.
Custom Form Selection
After creating a custom form you can apply those styles to your list here.
Public Subscription Toggle
This allows you to allow or disallow if users can publicly subscribe via the list subscripiton form.
Unsubscription Method
We allow a few different workflows once a user clicks the unsubscribe link in your emails:
- One-step - user is immediately unsubscribe with no confirmation (recommended)
- One-step with form - user must confirm unsubscribe on landing page
- Two-step - user will receive a confirmation email before being unsubscribed
- Two-step with form - user must confirm on landing page & will receive a confirmation email
- Manual - only an administrator can unsubscribe users from the dashboard
Unsubscribe Header Toggle
Some email clients provide easy to use unsubscribe buttons when we send a list unsubscribe header, you can disable the header using this feature
Adding Fields
Custom fields can be added to your list from the fields tab after your list has been created. More docs on fields coming soon
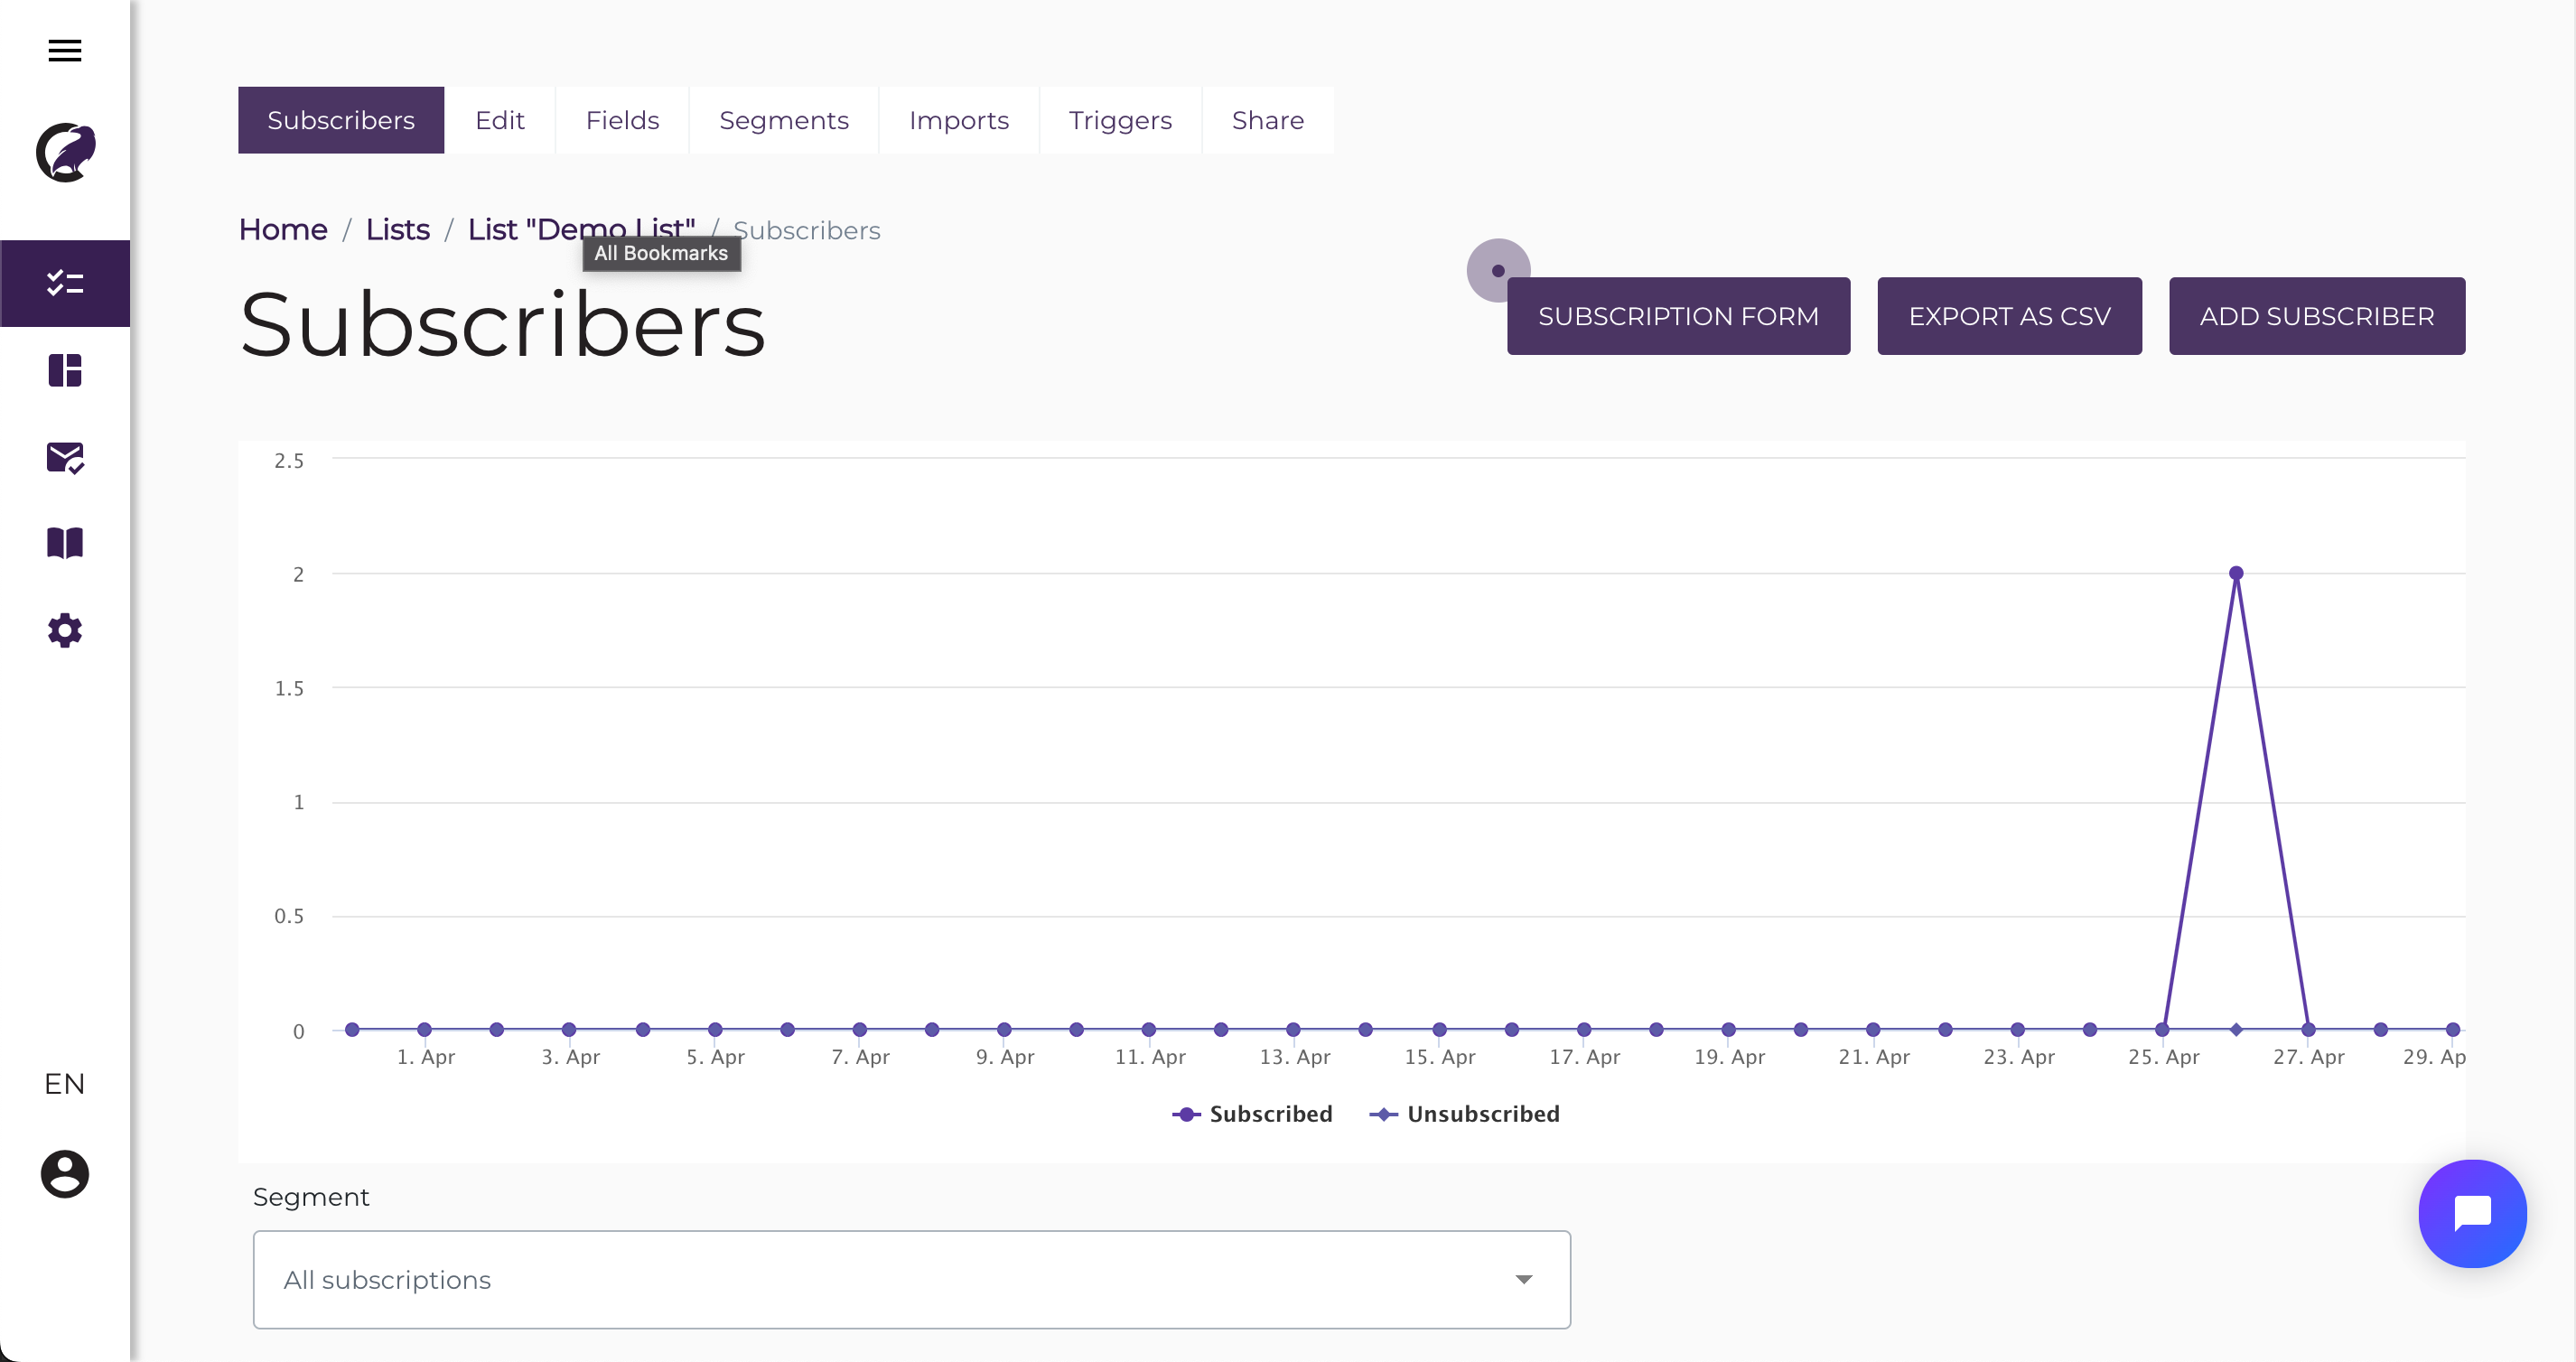
Adding Users
With Carrier Crow there is essentially 5 different ways to add users:
- Bulk Import
- Individual Added by Admin
- Individual Subscribed from Subscription Form
- Individual Subscribed from Widget
- Individual Subcribed via API Call
In this documentation we will go over the bulk import, individual admin and the subscription form. You can find documentation for the API and widget usage in the top level menu on this site.
Bulk Import of Users
Bulk import allows you to upload a CSV file of many users to your list. This feature is generally used when migrating from another platform, buying data or importing from another data management platform or service.
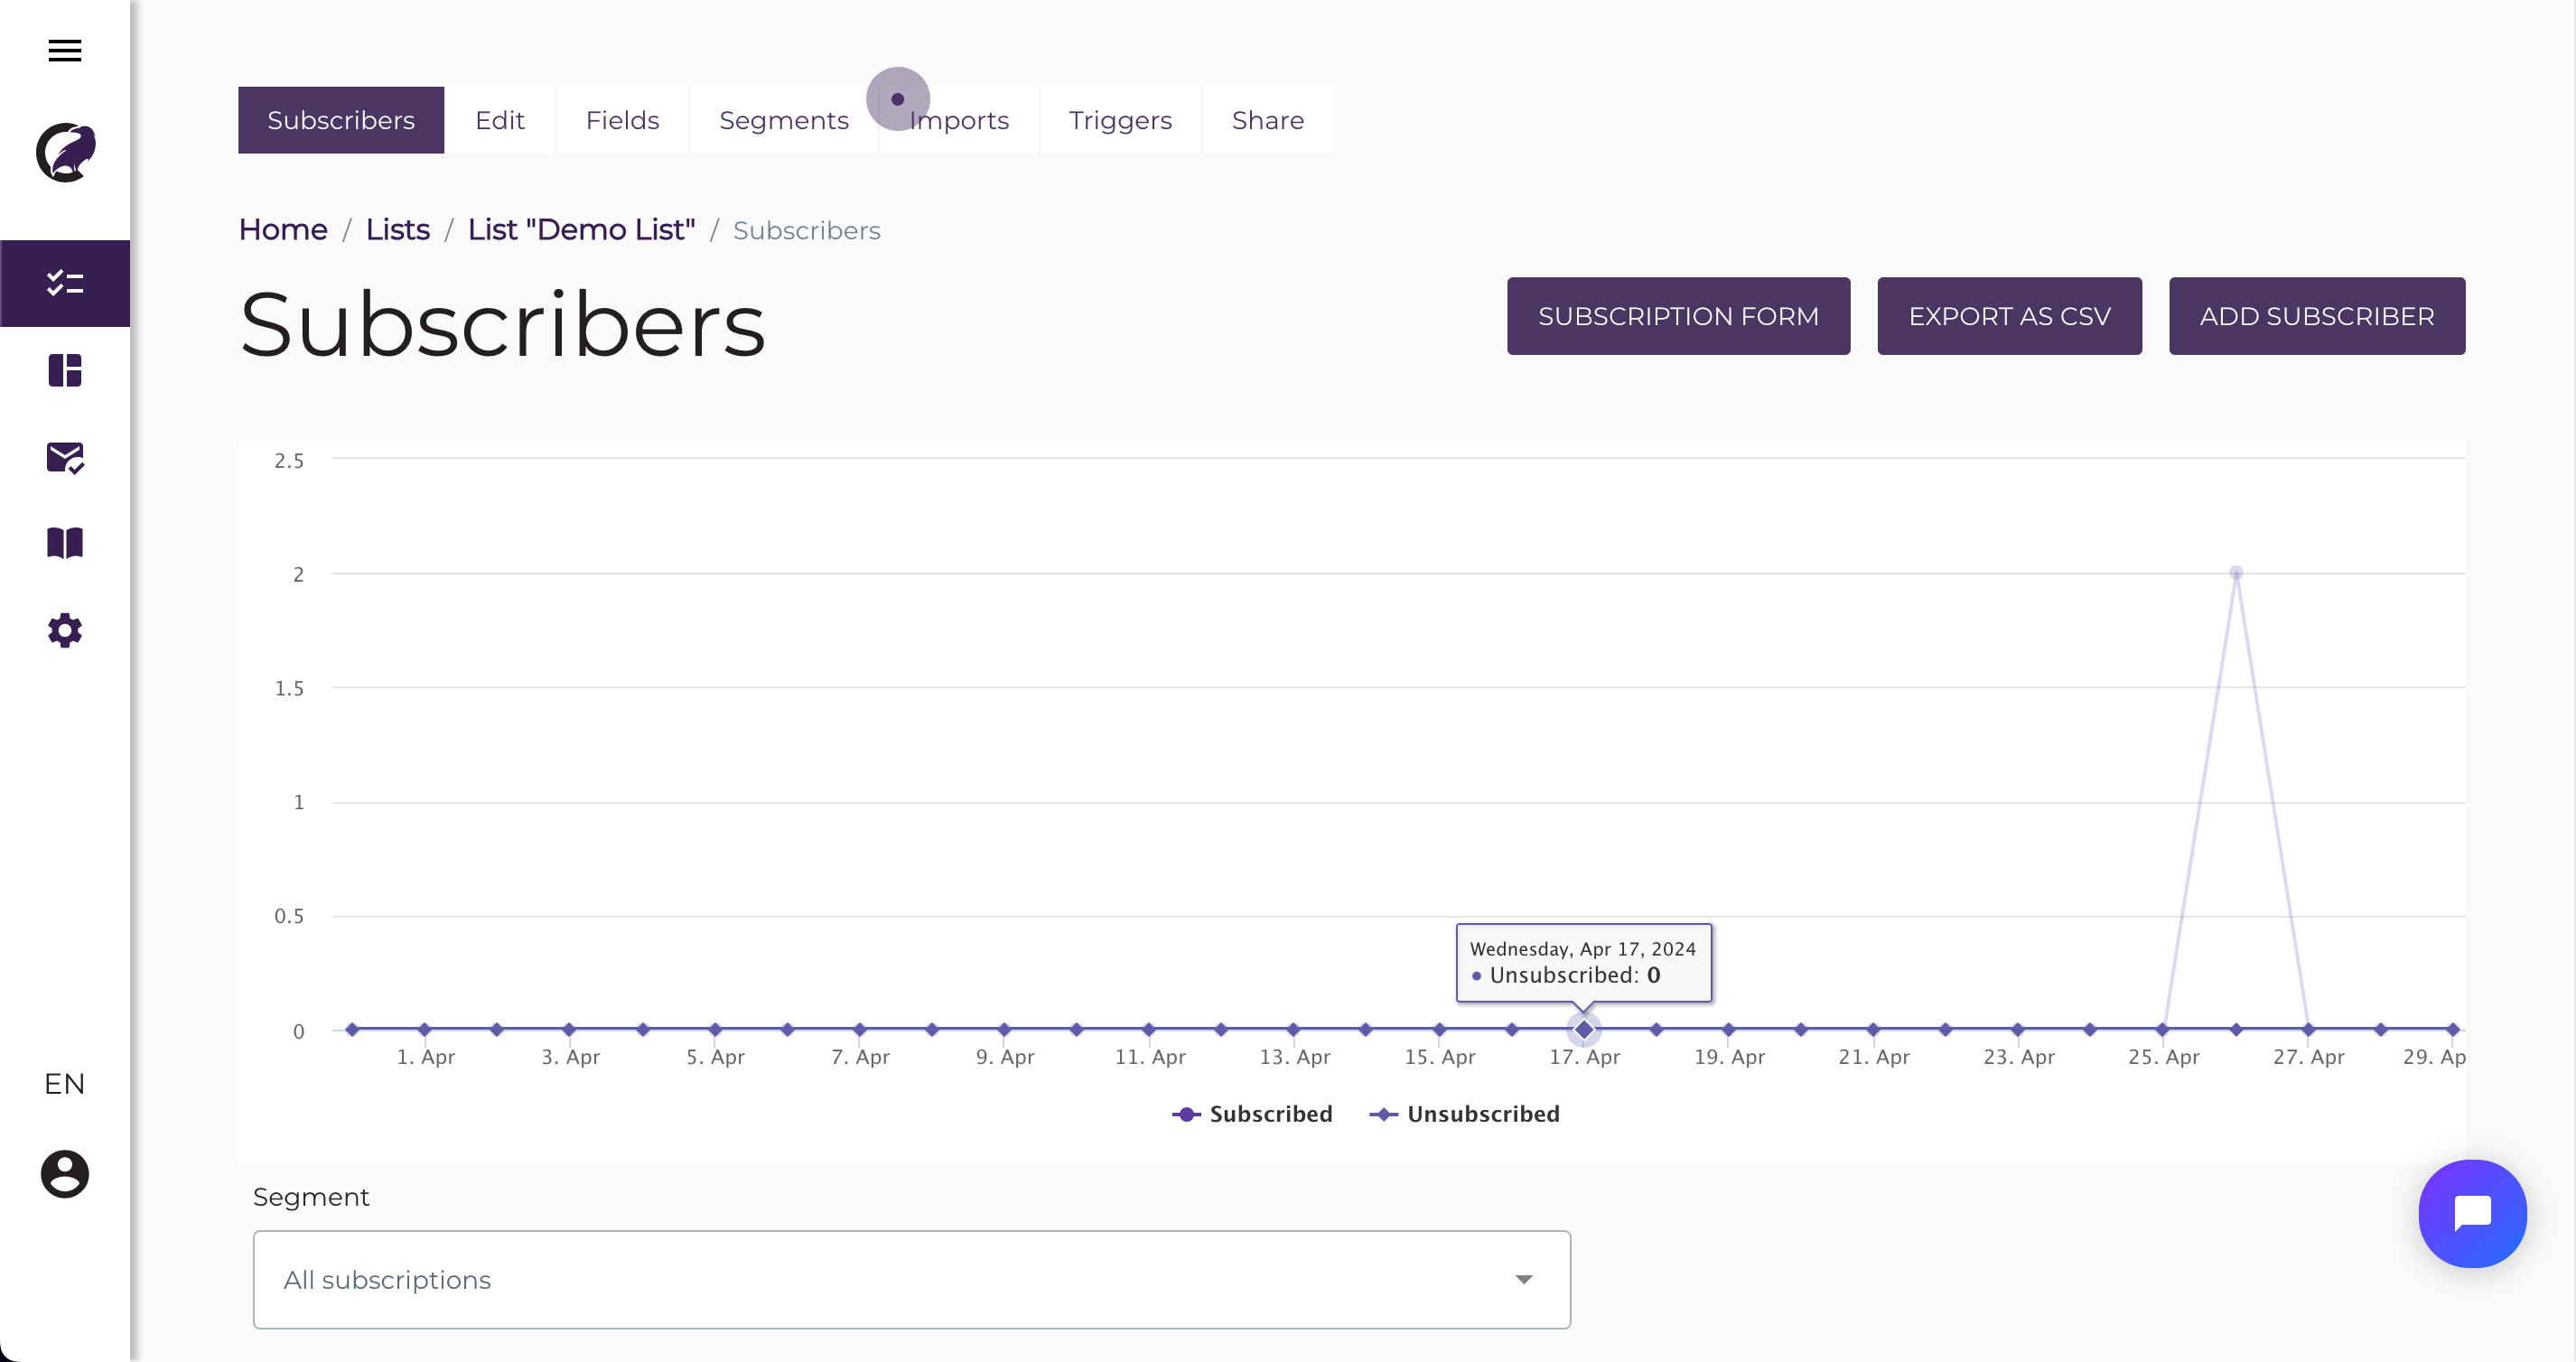
Step 1: Browse to a list & click the imports tab
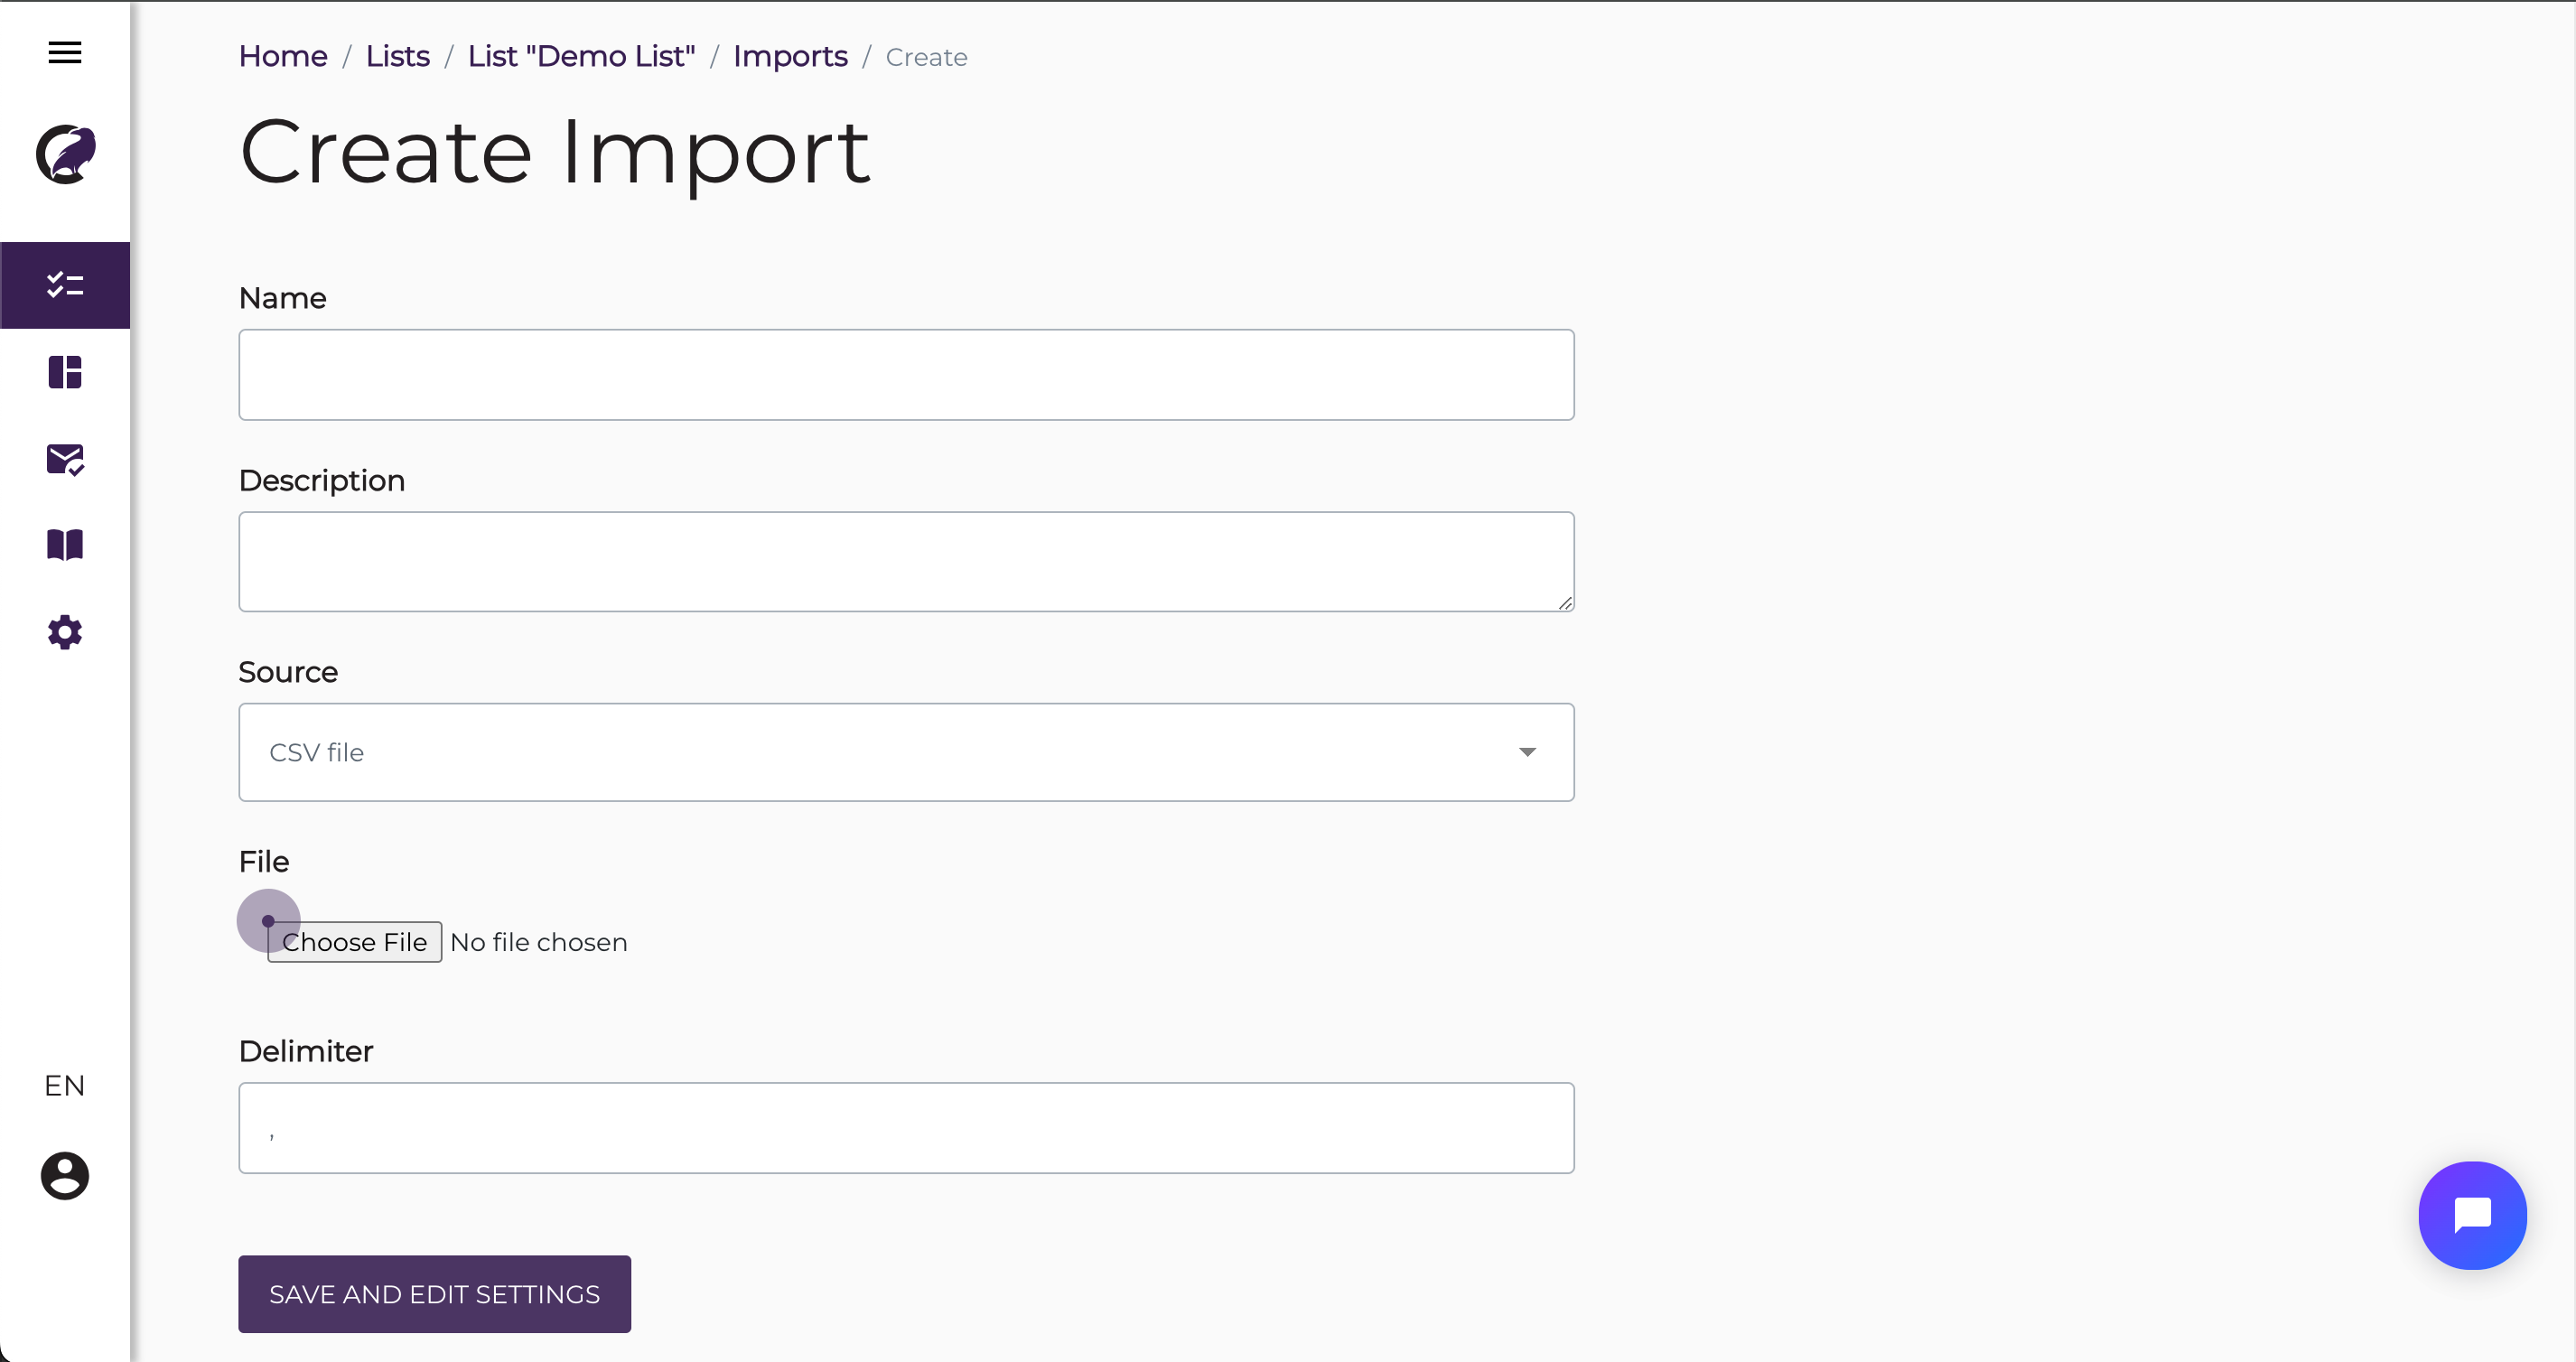
Once in the imports page you'll press the Create Import button at the top right and then be presented with a form where you'll be able to upload a csv file form your computer.
Step 2: Upload your users file
You can optionally create a name for you import, otherwise the system will automatically use the file name.
Once your file has uploaded you'll be presented with mapping options.
Step 3: Select which file fields map to your list fields
We'll do our best to auto select fields when possible, but make sure to review each mapping before importing your data
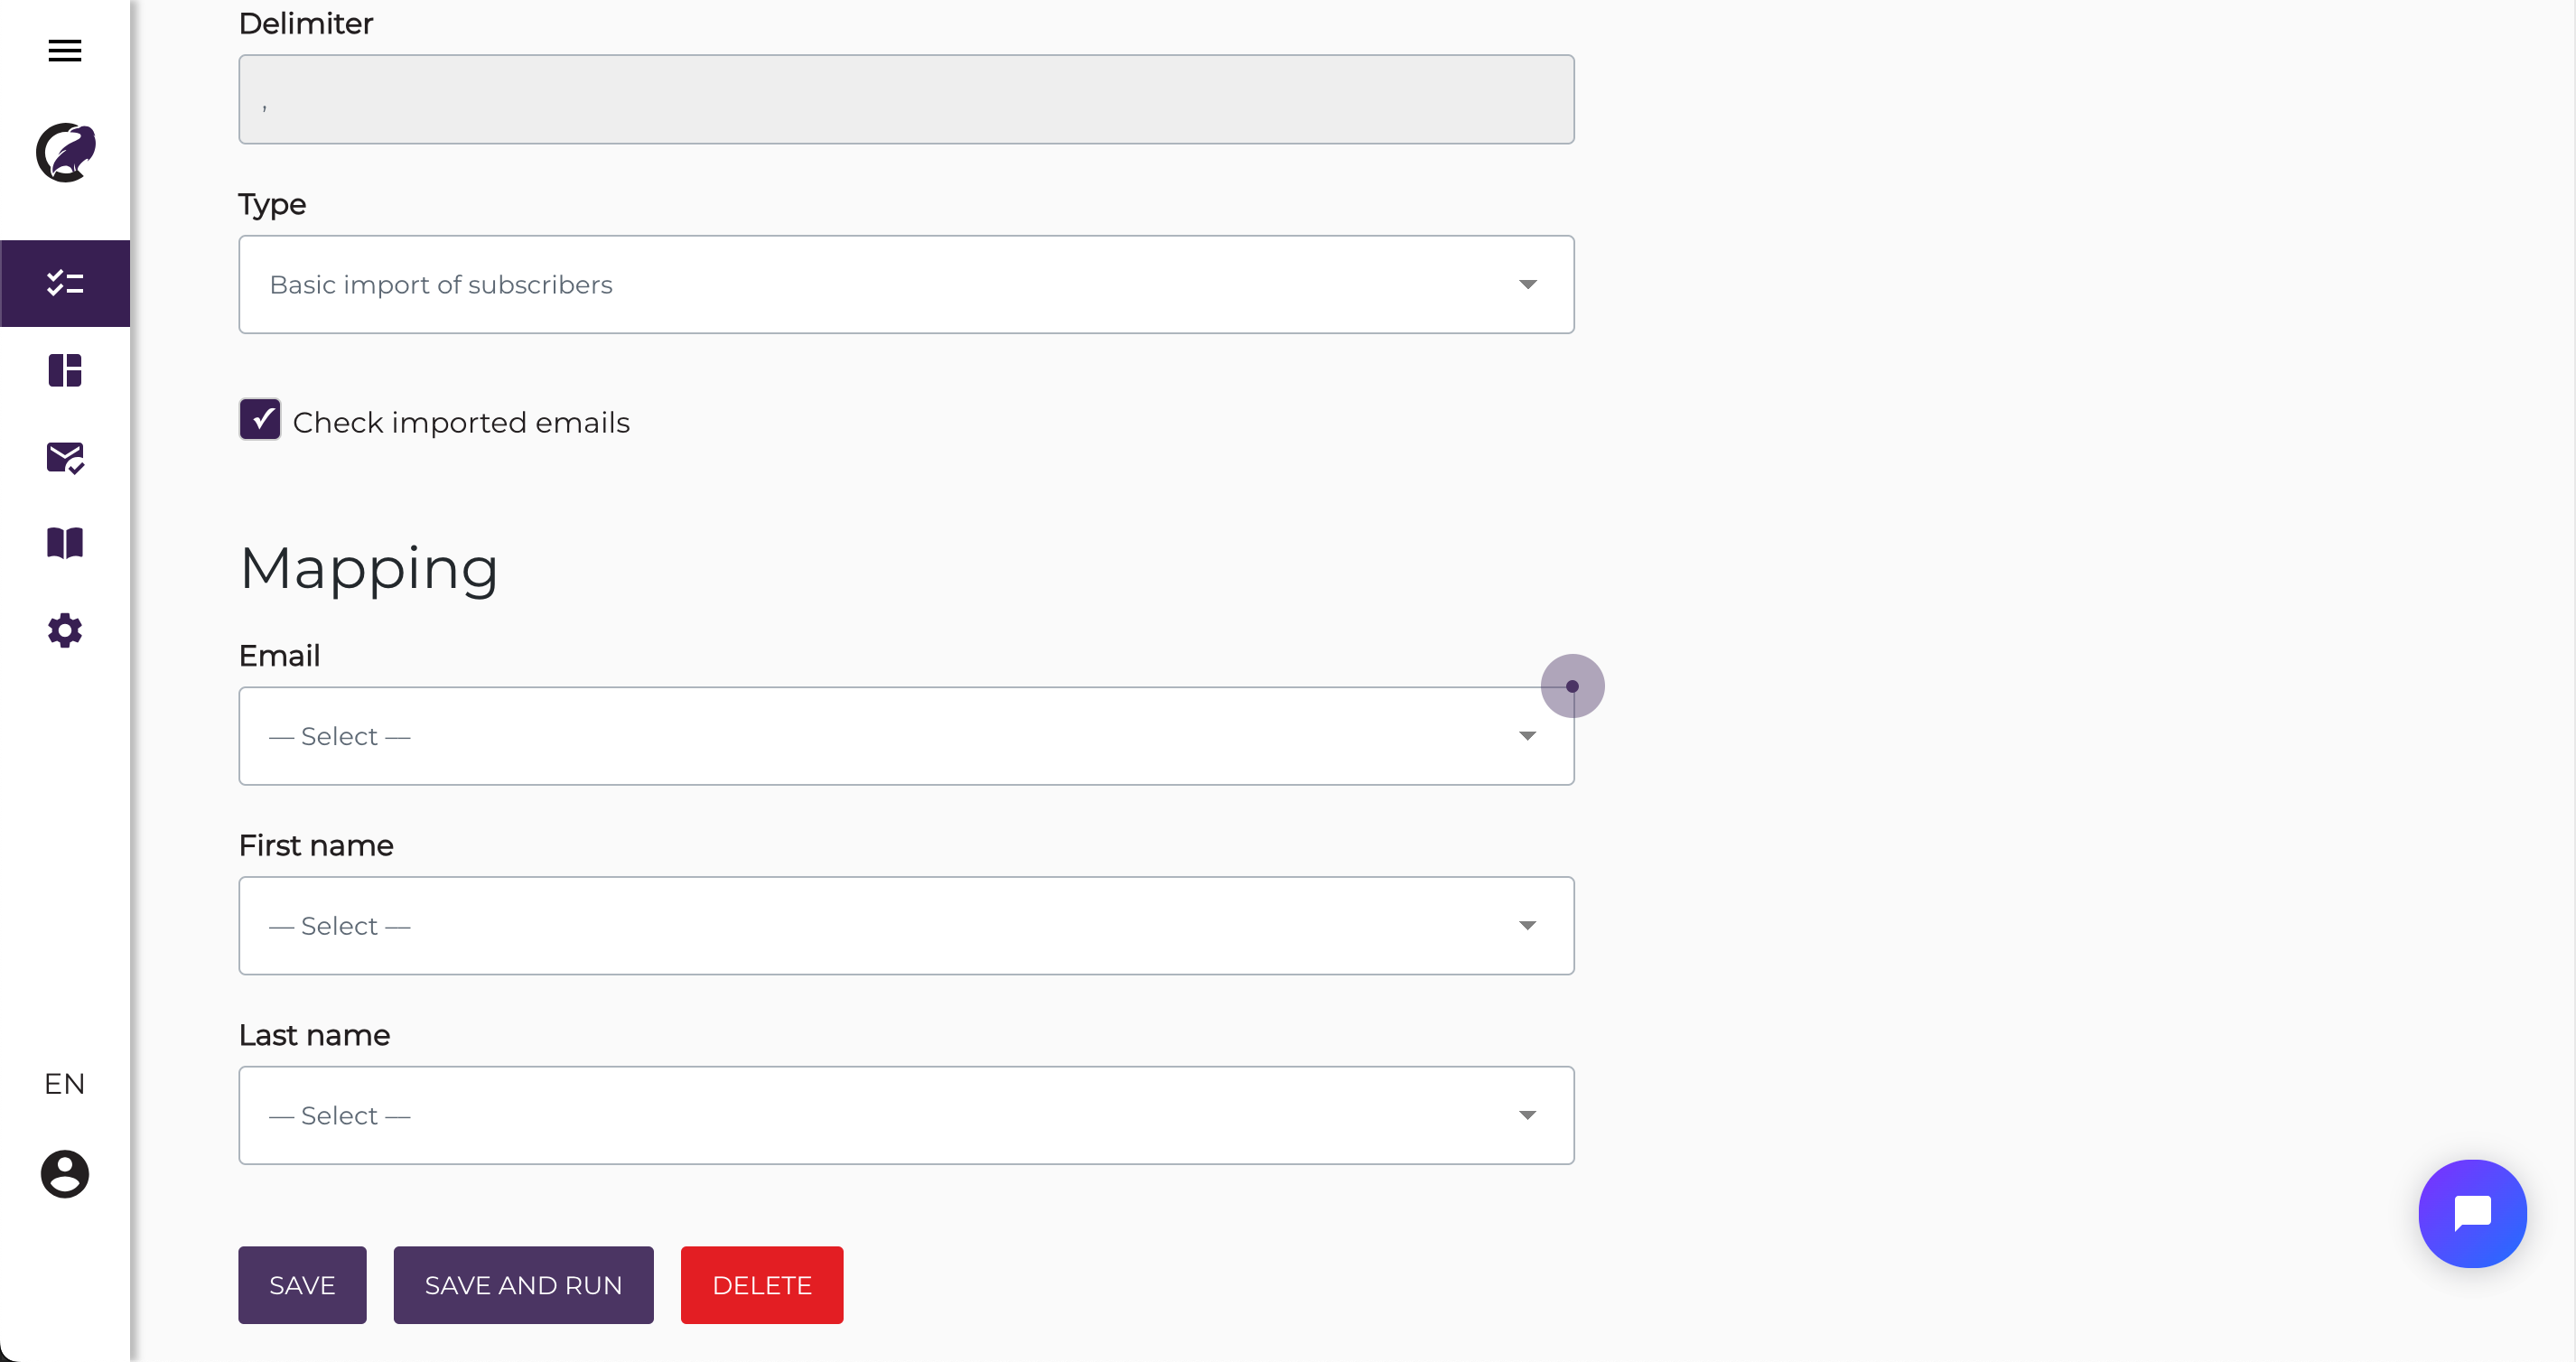
Once you map your fields and save the import process will begin. There's no need to keep the import page open as the process will continue running in the background. However, if there's any errors with your import you can check by viewing your import record at any time. If you have any issues please contact our support by clicking the chat bubble in the bottom right of the screen if you need help.
Add users Individually & Subscription Form
Occassionally you may need to add an individual user or provide and endpoint where users can subscribe themselves. Fortunatley we provide easy to use options for this that work similary for an admin or end user.
For admins
Browse to a list and click the Add Subscriber button
For End Users
Click the button that says Subscription From then copy the resulting url and paste it as a link anywhere on your site. The subscription form is publicly accessible and customizable and will also trigger a double opt-in email to protect your list from exploitation.
The forms in either scenario are similar and can be customized fully with custom forms and custom fields.
Adding Segments
Segments are the building blocks of intellegent email sending. They allow you to group users by fields and engagement behavior in order to create a highly customizable outreach for your list.
More docs on segements coming soon